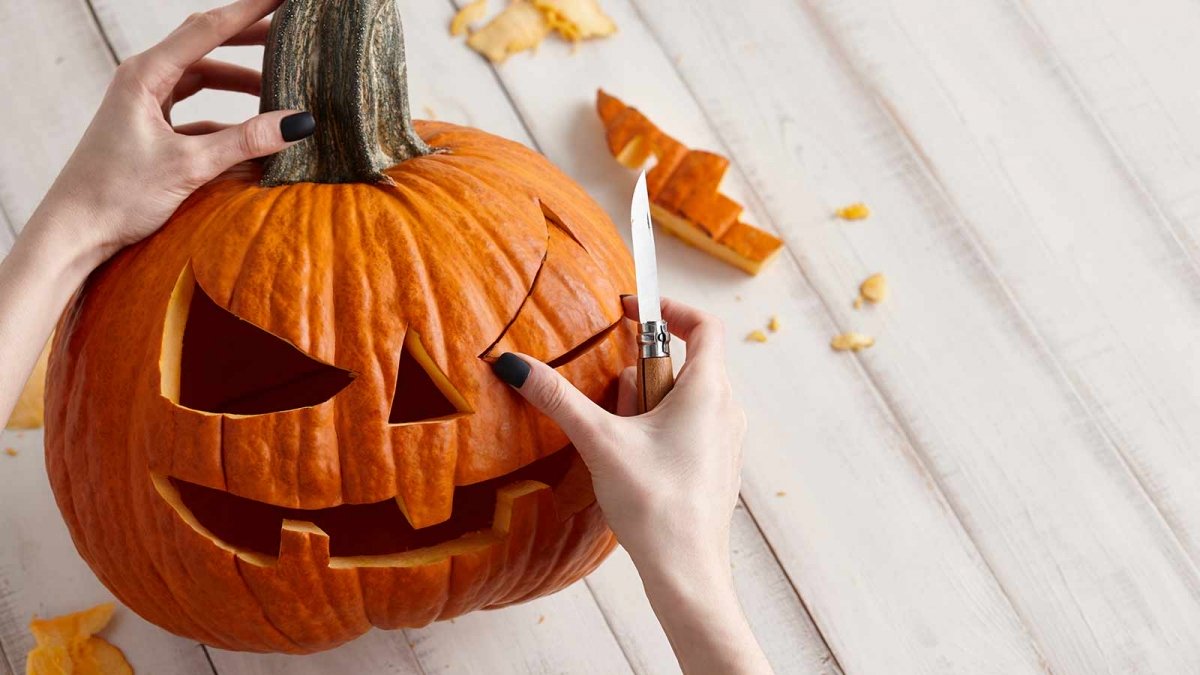
How to Preserve Your Carved Pumpkin for Halloween

If you take your pumpkin carving seriously, there’s a good chance you want to make sure your masterpiece-in-gourd lasts as long as possible. Here’s how to do that.
When you work with a pumpkin as your canvas, you don’t have the benefit of inert material or time on your side. From the moment you pluck the ole pumpkin off the vine at the pumpkin patch, your orange friend is on his way to the great compost pile. But with a little creativity (and mostly extra work) you can make your Halloween masterpiece last as long as possible.
Let’s take a look at all the ways you can extend its jack-o’-lantern smile.
Carve Close to Halloween
Hey, we get it—you’re super excited about Halloween and can’t wait to get carving. But the fewer days your pumpkin is carved and exposed to the elements, the fresher it will look on Halloween.
If you want to skip all the other steps, just wait to carve your pumpkin the night before and simply let nature takes its course. After all, there’s no need for preservation tricks when the use window is only 24 to 48 hours.
But let’s get real; given you’re reading this article, there’s a good chance you’re the kind of person who can’t possibly wait until the night before to carve your pumpkins. You want to bask in all things Halloween for the entire month of October.
Disinfect Your Pumpkin with Bleach
Think back to Halloweens past, and the horror of discovering your artfully carved pumpkin is barely limping along. What stands out? Most likely, the mold gracing your jack-o’-lantern’s toothy grin.
A pumpkin is organic, and you have to protect it from the constant attacks of microscopic invaders. You can fight back at several stages of the process with bleach.
After you open the pumpkin and scoop out all the seeds (put them aside if you’d like to turn them into a tasty treat), clean the interior of the pumpkin thoroughly with a spoon or rounded tool. Scrape out all the seeds, stringy bits, and other pumpkin guts until you have a smooth, interior surface. The less surface area there is for mold to attack, the better.
Next, mix 1 tsp. of bleach with 1 qt. of water—we recommend you put it in a spray bottle, as this will come in handy in a later step. Wipe down the exterior and interior of the pumpkin with the bleach water. Make sure you wet all the surfaces thoroughly, and then let them dry. This disinfects the surface of the pumpkin.
After you carve your pumpkin, find a container large enough to hold it (or use a utility sink or bathtub), fill it with cold water and 1 cup of bleach, and then dunk your jack-o’-lantern in the bleach water. This will ensure it gets a running start in the race against mold and decay.
If you can, let your jack-o’-lantern soak for 24 hours. The bleach will kill any microorganisms, and the water will super-hydrate your pumpkin and extend its life.
Skip the Candles and Seal the Edges

If you’re a purist, and you can’t stand the idea of not using actual candles in your jack-o’-lanterns, we respect that. However, there are two good reasons to skip them and go the flameless votive route.
First, candles dry pumpkins out. Sure, the flame might be tiny, and it’s not like you’re roasting the thing in an oven at 350 degrees. But slowly and surely, the candle will dry out the interior of the pumpkin, which is exactly what you don’t want.
Second, if you use an actual flame, don’t seal your pumpkin’s edges, as the sealing material is flammable. It’s worth skipping the candle, though, because sealing the surfaces is an excellent way to keep your pumpkin looking fresh.
To seal your jack-o’-lantern, smear some petroleum jelly along the edges you exposed when you carved it. This method is especially useful for detailed carvings that require you to dig into the skin but not fully pierce the pumpkin, as it keeps it well moisturized and evenly colored.
Mist Your Pumpkins Daily
Even if you use the petroleum jelly trick, your pumpkins still dehydrate a bit every day. And fall weather tends to be pretty dry in most regions, which accelerates the process.
To combat both the drying-out process and mold, you can use a one-two punch in the form of the bleach water you mixed up in the earlier step.
You might see commercial solutions at your local Halloween or big box store, but these are unnecessary—bleach water works just fine.
If you skipped the disinfecting step above, just mix 1 tsp. of bleach with 1 qt. of water in a spray bottle, and give your pumpkins a good misting inside and out, every day.
Mind the Temperature
The ideal microclimate for your pumpkin masterpiece is cool and shady. If it had any say in the matter, your pumpkin would spend every day in the shade at around 50 degrees Fahrenheit. But if a sudden spell of hot weather is predicted, you can take some steps to ensure the sun doesn’t turn your jack-o’-lantern into pumpkin jerky.
Often, you can keep your pumpkin cool and happy if it’s in the shaded part of your porch. Or you can take it inside and put it in the cool basement while you’re at work.
Freezing weather is no picnic for Jack the Pumpkin King, either. Any pumpkin-carving veteran will tell you, after a night or two of hard frost, most pumpkins look significantly worse for the wear. They rapidly start to rot and collapse.
If the weather takes a turn for the truly scorching or absolutely freezing, you might want to wrap your pumpkins in garbage bags and tuck them in the fridge to keep them fresh for Halloween.


Leave a reply