How to Change Your AirDrop Name on iPhone and iPad
AirDrop lets you quickly transfer files wirelessly between iPhones, iPads, and Macs. When you share a document, the recipient will see the name of the sending device. If you’d like to change your AirDrop name, it only takes a few steps. Here’s how to do it.
Before we begin, it’s important to know that your device’s AirDrop name is the same as the general device name that you might see while backing up your iPhone or iPad or in a list of devices in your iCloud account. By default, this name will be your first name and the model name, such as “Benj’s iPhone 8” or “Linda’s iPad Pro.” To change the name, we’ll need to visit Settings.
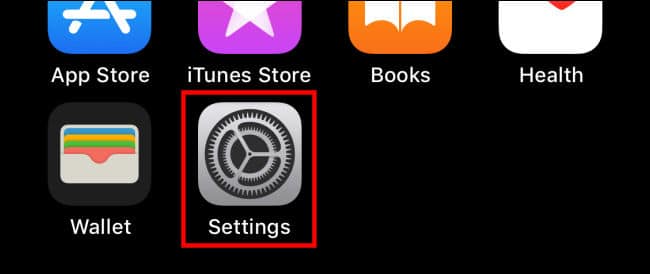
First, open “Settings” on your iPhone or iPad.
In Settings, navigate to General > About.
In the About menu, you’ll see the current AirDrop near the top of the screen. Tap “Name” to enter a new name.
On the Name screen, tap the text entry area and type in the new name for your device, then tap “Done.” This name will also be the device’s AirDrop name.
The next time you send a document over AirDrop, the receiving iPhone, iPad, or Mac will see the new name that you just entered.
Have fun sending photos and videos wirelessly through the air as if by magic. Imagine if you went back 200 years and told someone you could do this—they’d immediately want to buy an iPhone. Too bad for them!
RELATED: How to Add AirDrop to the Favorites Sidebar in Finder on Mac


Leave a reply