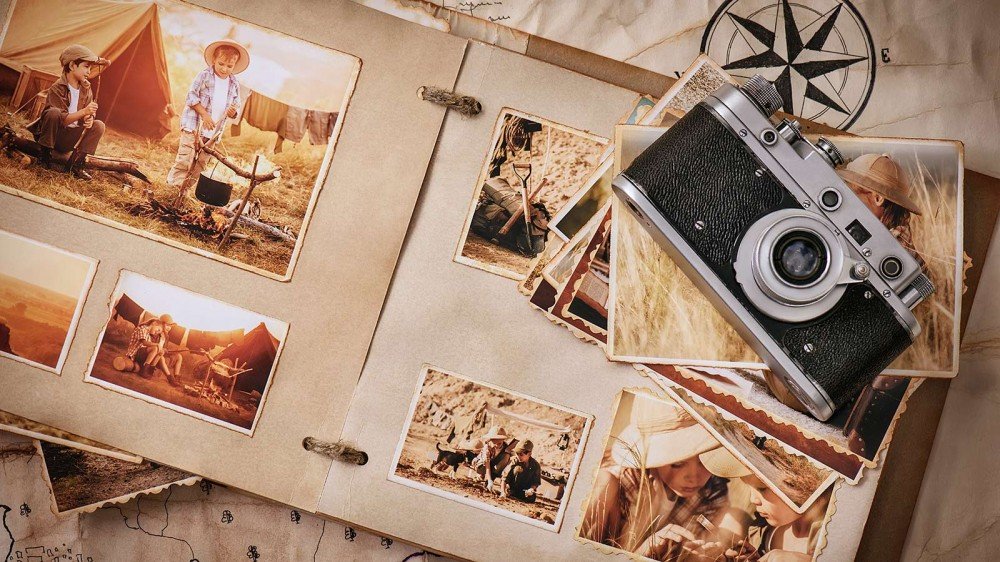
Here’s What to Do with Your Family’s Old Photo Album

Like most families, you probably have a few (or a few dozen) old photo albums lying around. Here’s what you need to do with the before you lose the photos forever.
Step One: Sort Through Them
Photos used to be hard and expensive to take, so lots of albums are crammed with pictures that would never make the Instagram-cut now. While some of these are nice to have, there will likely be other duds, duplicates, and photos of random strangers (or relatives so distant they might as well be) that you don’t need to keep.
Before doing anything else, go through all the physical photos, and pull out the good ones. Also, take the time to sort them by relative, date, and, possibly, event. It’ll make it much easier to find them again.
Step Two: Scan and Digitize Them

With the photos sorted, it’s time to get them scanned. This means you’ll have digital copies to share with the rest of your family but, more importantly, that you have a backup of the fragile rare images.
If you have the negatives or slide film, it’s worth digitizing that instead, as it will generally give you better photos. If not, you can just work with the printed images. You have two main options: Scan them yourself at home, or use a professional service. For more on your options, check out our guide over on How-To Geek.
Step Three: Print and Share Your Favorites
Now that you’ve got your photos on your computer, it’s time for the fun bit: printing out your favorites and sharing them with your family. It’s even better if you can tie it in to a big event, like a big birthday or the holidays. Surprise everyone with a customized selection of personal photos. Make sure to also share the full digital collection with them.
You should also print off a copy of the photos you love, so you can display them and have them around. It’s very easy for a photo to get misplaced if there’s only one copy.
Step Four: Store Them Properly
The hard work is done. All that remains is to store both the physical and digital photos properly, so you don’t have to worry about loss or damage again.
For the physical photos, get some proper archival storage boxes, and put your (neatly sorted!) originals in them. These boxes are designed for photos and documents, so they’ll do a better job of keeping them safe than whatever cardboard box you were using before.
For the digital photos, back them up—properly! Check out this guide on How-To Geek. There’s no point only having one digital copy. You’re even more likely to lose your images than if you have just one physical copy.
Now that you’ve taken the time to sort and organize your photos, don’t forget to put them where you can see them. Hang favorite photos in a proper frame. Add them to your Chromecast’s backdrops folder so you can see them on your television. Don’t let your digital photos gather dust just like the physical photos you rescued from the albums!


Leave a reply