How to Boot Into macOS’ Recovery Mode Without a Recovery Partition
Can’t get your Mac to boot, even into macOS Recovery mode? Whether you’re replacing the hard drive or have a corrupt recovery partition, sometimes Apple’s repair tools won’t boot, which makes it hard to install a fresh copy of macOS or access other utilities.
We’ve shown you how to access your Mac’s recovery partition, but if you’ve had a total hard drive failure, there’s no partition to boot. You might think this means you’re screwed, or that you need to make a bootable USB key in order to install macOS again. But that’s not true.
As Apple explains, macOS Internet Recovery is a fallback option available to all Mac users. And it’s straightforward to use.
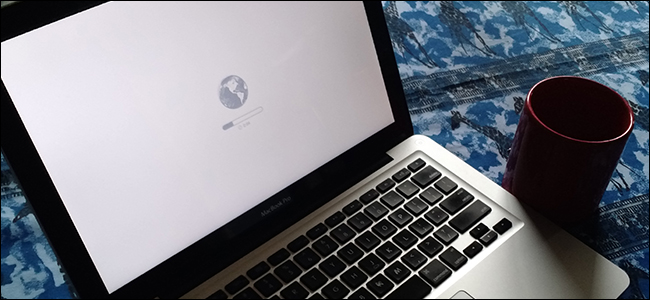
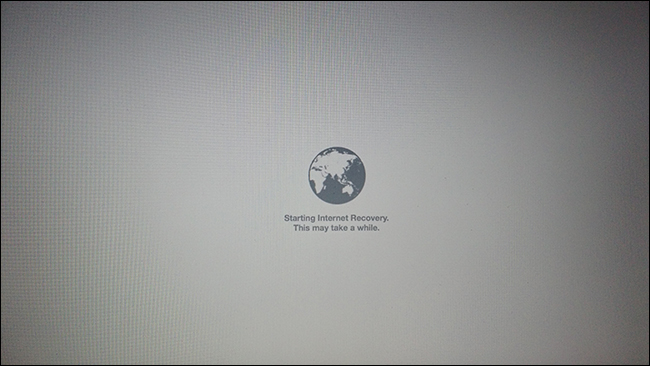
Shut down your Mac, then turn it back on holding Option+Command+R. You should see a spinning globe icon.
You might first be asked to connect to a Wi-Fi network, assuming your macOS partition isn’t available to pull the password from. Booting might take a long time if you’re on a slow Internet connection, but with our 30 MB/s speed it took around five minutes.
RELATED: 10 Quick Ways to Speed Up a Slow Mac
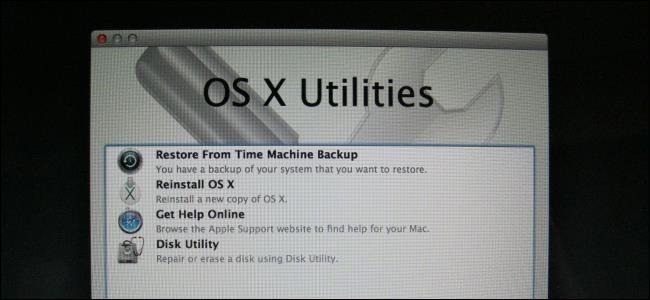
Once the process is done, you’ll see the version of macOS Recovery tools that came with your Mac.
From here you can:
- Restore your Mac from a Time Machine backup.
- Reinstall macOS. Note that you can only install the version that came with your Mac via Internet Recovery.
- Access Safari, to browse the web and search for solutions to your current problem.
- Access Disk Utility, which lets you take control of your hard drives.
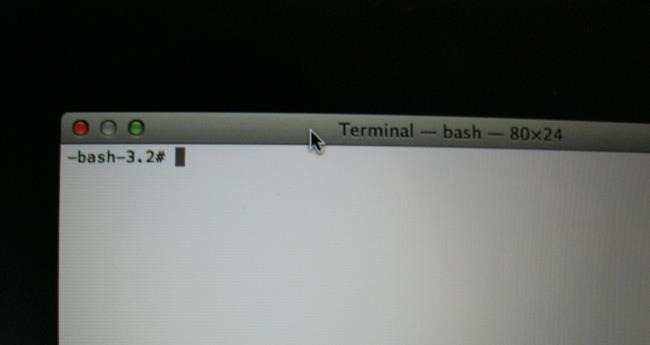
There are a bunch of other great macOS Recovery tools, including the Terminal and Network Diagnostics.
Basically, macOS Internet Recovery is the same as the internal recovery mode. There is one key difference, however: if you try to install macOS, you will end up with the version of macOS that came with your Mac, rather than the latest version. Thankfully, recent versions of macOS are free, so this is only a slight annoyance. And if you wanted to downgrade anyway, this might be the easiest method, since you don’t even need a thumb drive.


Leave a reply